Jmeter Recording
JMeter from the Apache Jakarta project is a popular open source tool for load testing client-server applications. It is a java-based tool with many useful modeling features such as thread group, timer, and HTTP sampler elements.
Download latest version of jmeter. The version used here is 2.3.1. Once the tool is installed run the jmeter in two ways.
1) Run jmeter.bat file .
2) To run jmeter through command prompt. Give the entire path where jmeter batch file is present. The path will be as follows D:\jakarta-jmeter-2.3.1\bin \jmeter.bat -H <Proxy for accessing Internet> –P <port number> .
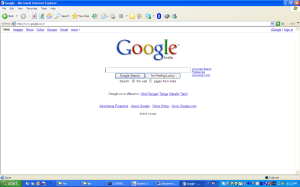
Fig. below shows the jmeter main window.
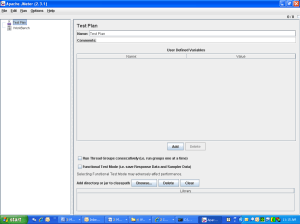
The user interface has two panes. The left pane displays the elements used in our testing. Initially, there are the Root and two sub-elements, Test Plan and WorkBench. In this article we’re only concerned with Test Plans. Add an element to a node by right-clicking it and selecting Add. To remove an element, select the element by clicking on it, then right-click on the element and choose the Remove option.
Test Plan: A test plan describes a series of steps JMeter will execute when run. A complete test plan will consist of one or more Thread Groups, logic conrollers, sample generating controllers, listeners, timers, assertions, and configuration elements.
WorkBench: Workbench is place where we store test elements which are saved and used in later stages. It has two elements which are HTTP proxy server and HTTP mirror server. Http proxy server is used for recording purpose. To use it right click on workbench then select Add –> Non-Test Elements –> HTTP Proxy Server
Recording a Test Script in JMETER:
1) Create ‘HTTP Proxy Server’ under ‘work bench’ and fix the port as ‘8080’.
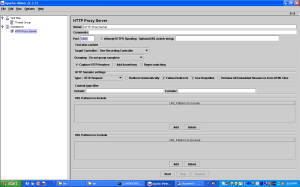
Note: if any web server (for ex: tomcat) is running change the port (for example to 9090).
2) Follow the path browser->tools->internet options->connections->LAN settings and change the ‘Address’ as ‘localhost’ and port as ‘8080’(in sink with port in ‘HTTP proxy server’ in Jmeter )
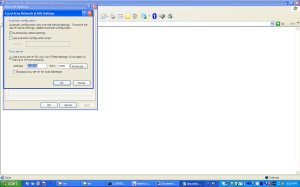
Note: setting ‘local host’ in ‘Address’ is mandatory, otherwise events will not be recorded
3) As per the above screen shot , if the ‘localhost’ is mentioned in the ‘Address’ field of LAN settings, Internet access will be disabled.
4) Click on ‘start’ button, in ‘HTTP Proxy Server’ in JMeter for recording.

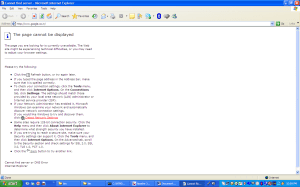
Tool will tune the browser and will enable the internet access.
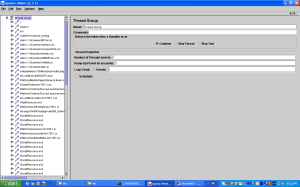
5) Click’ stop’ option in the tool to stop the recording process and double click on the Thread Group to view the recorded events.
 6) Events will be generated under ‘Thread Group’ as shown below .
Finally save your script in your destination folder
